Parent access
Parent access lets each student link a parent to their account. The parent signs in to your platform and follows the student's course reports and study calendar. This article is for platform admins.
The Parent Access setting shows only during the free trial, or when your platform is on the NELC lessons plan. If you do not see it in General Settings, your plan does not include it.
Turn on parent access
-
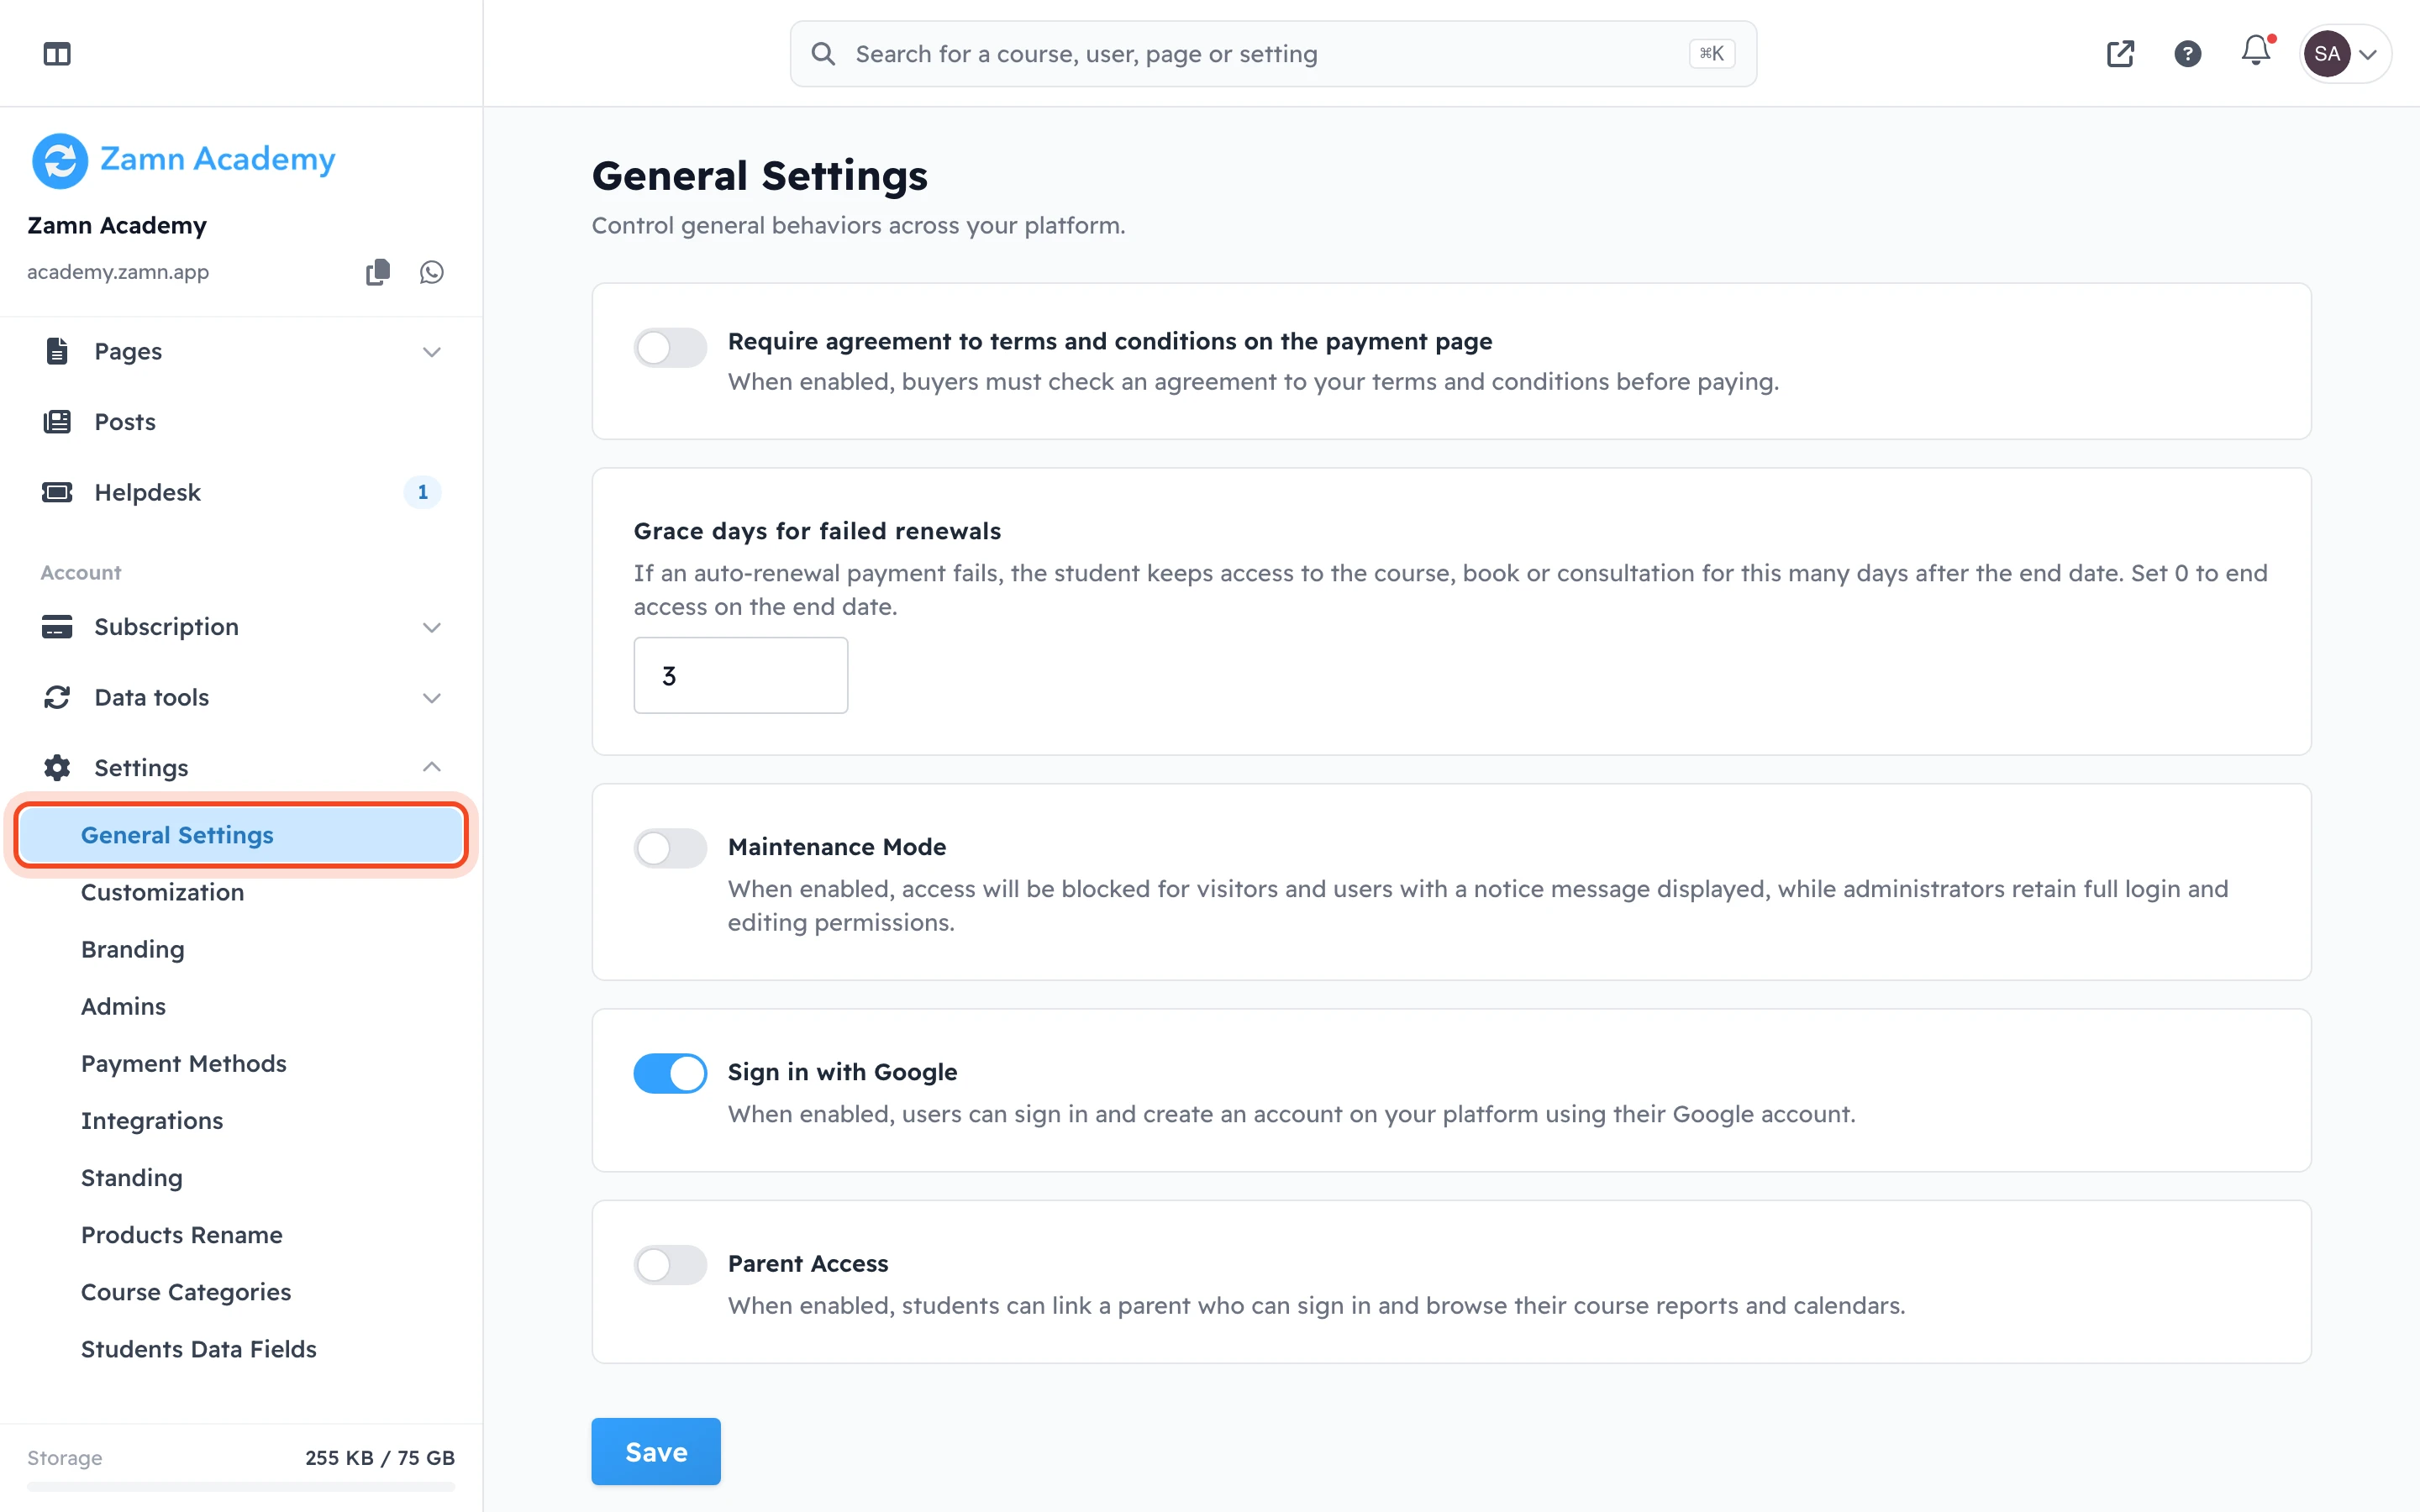
In the side menu of the dashboard, under Settings, click General Settings.
-
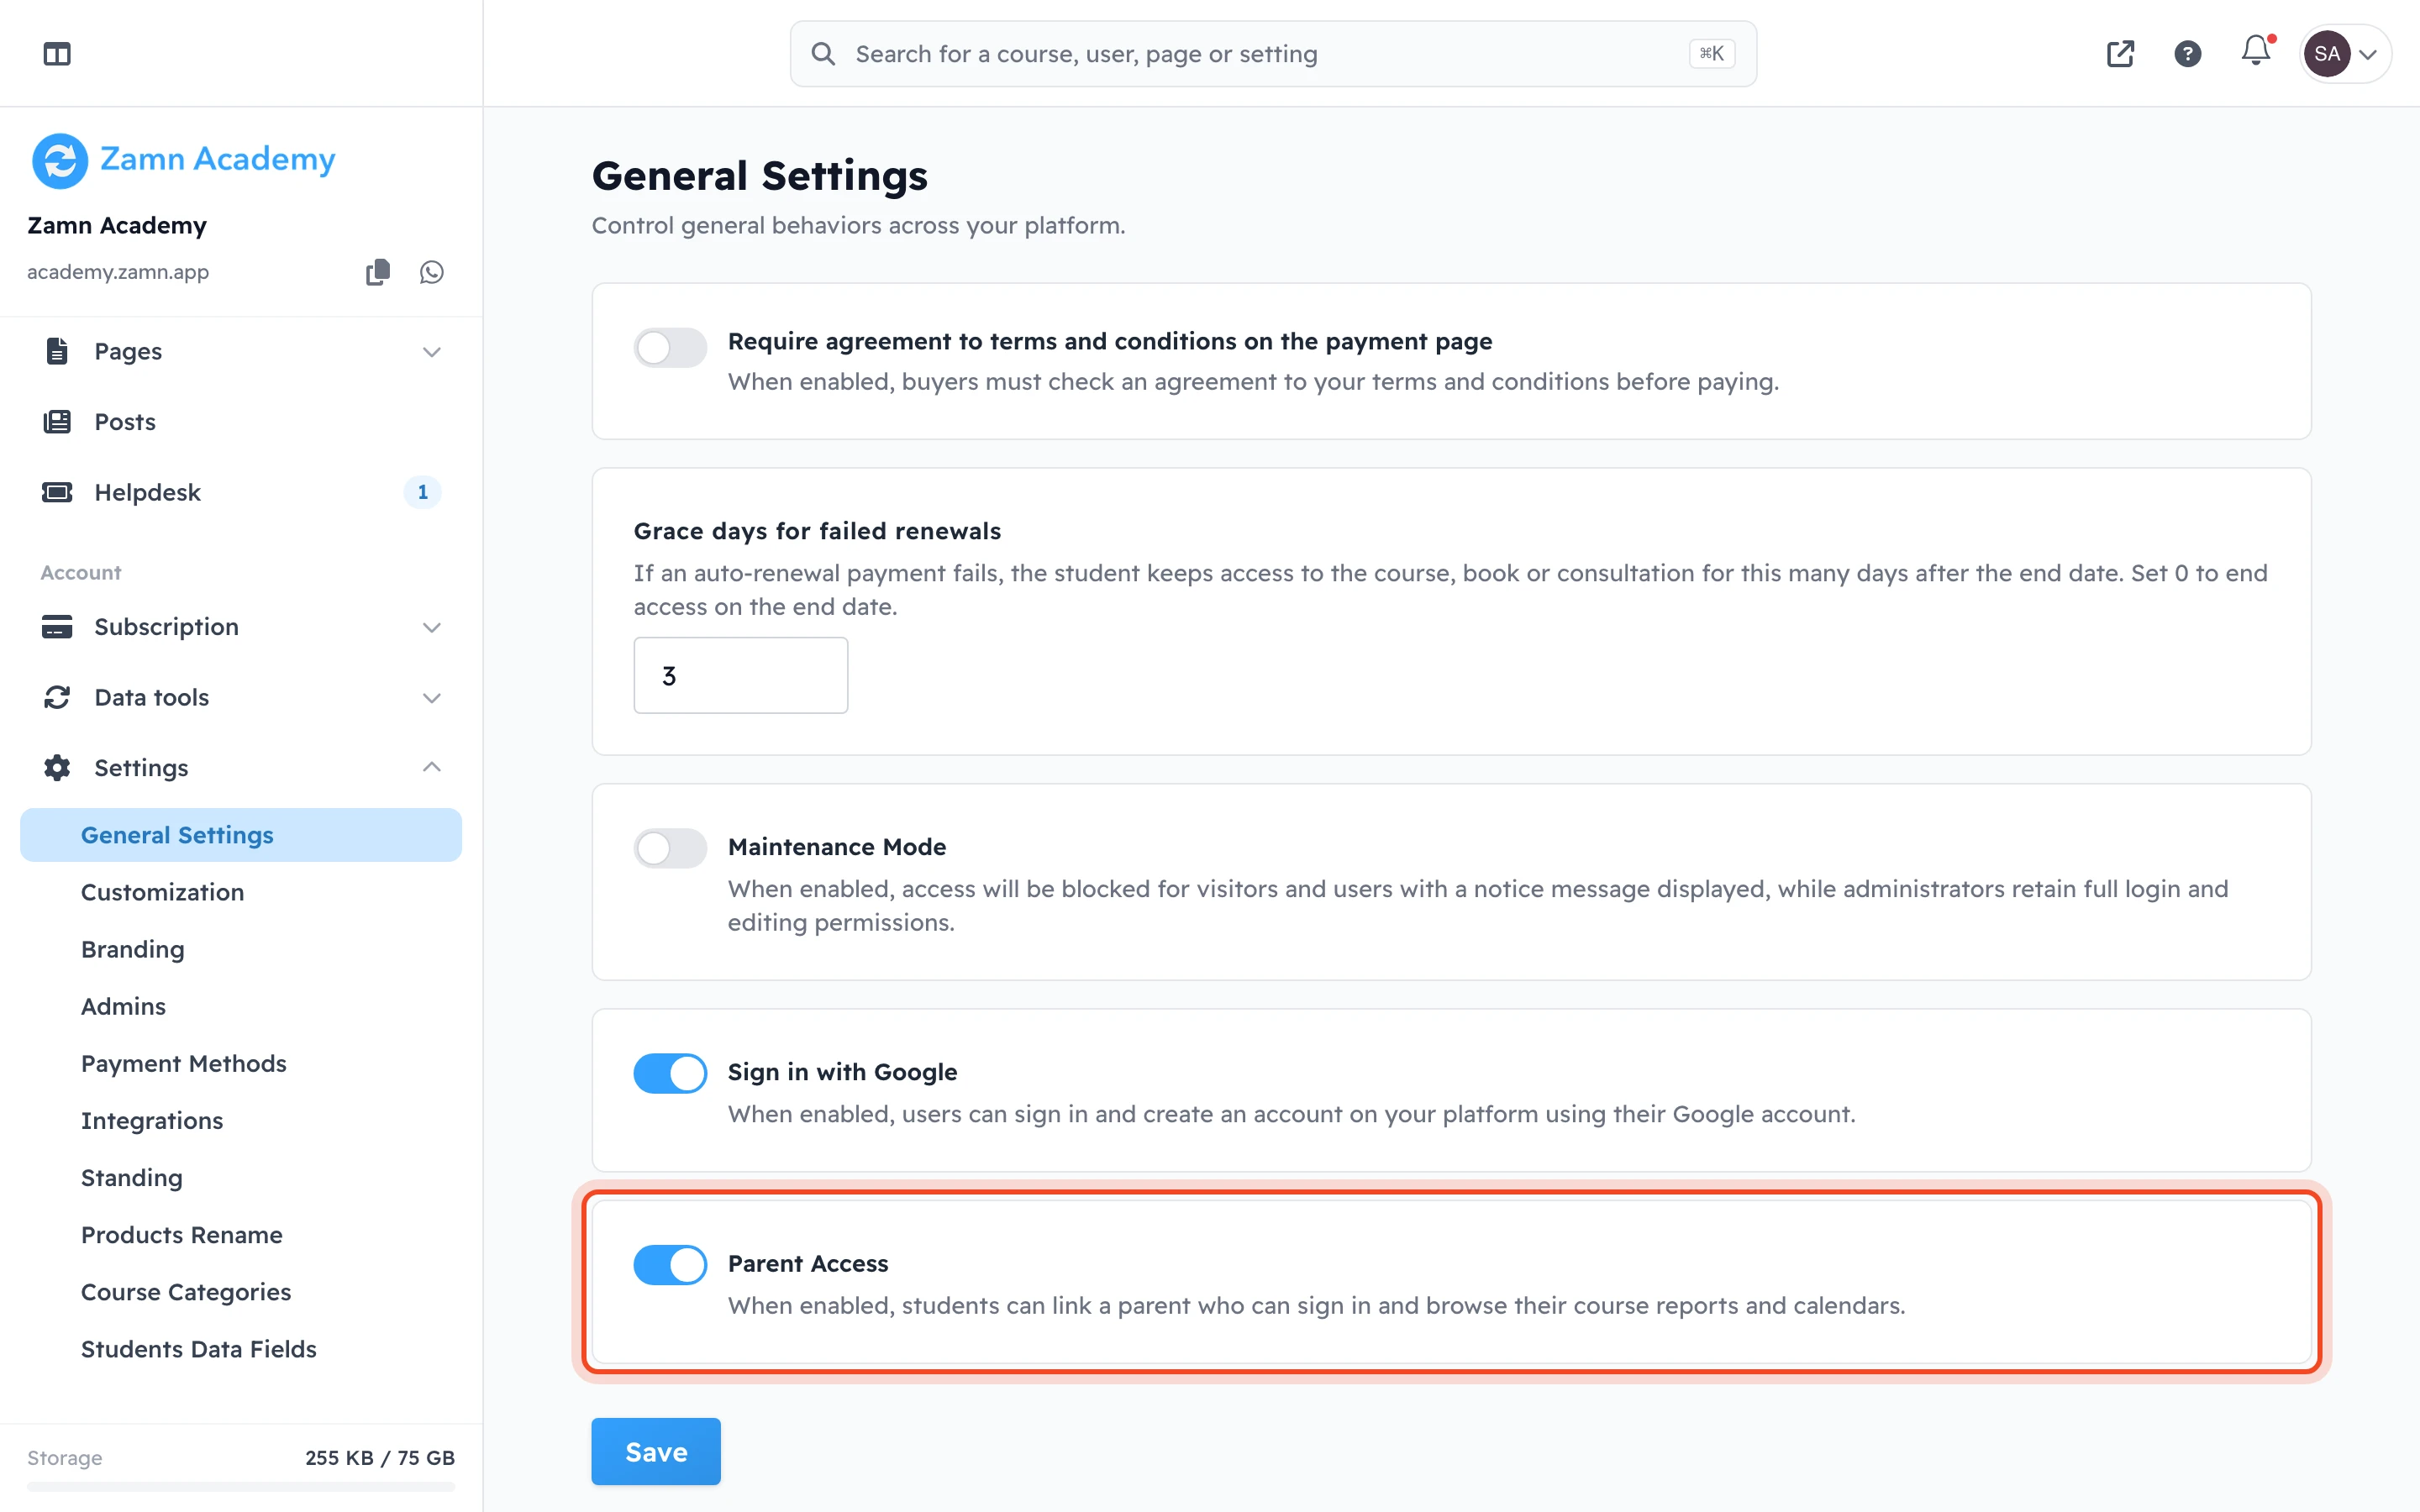
Turn on Parent Access. You find it under Sign in with Google.
-
Click Save.
When parent access is on, every student finds a Parent page in their Dashboard, where they can add a parent. To see how, read Add a parent to your account.
If you turn parent access off, the parents stay linked, but they cannot open their children's pages, and you cannot link new parents. Turn it on again and everything works as before.
Who can be a parent
- Each student can have one parent. One parent can follow more than one student, for example brothers and sisters: enter the same phone number and email for each of them.
- A person who is a student on your platform cannot be a parent. The app shows: "This person is a student on the platform, so they cannot be added as a parent."
- A student cannot be their own parent.
- The name, the phone number and the email are all needed. The phone number must be a valid number with its country code.
- If the parent already has an account on your platform, enter the same phone number and email as in that account. If the phone number belongs to one account and the email to another, the app shows: "The phone number and email belong to different accounts."
If the parent has no account yet, the platform creates one for them with the name, phone number and email that were entered.
Link or replace a student's parent
A student can add a parent only once. After that, only you can change or remove the parent.
-
In the side menu of the dashboard, under People, click Users.
-
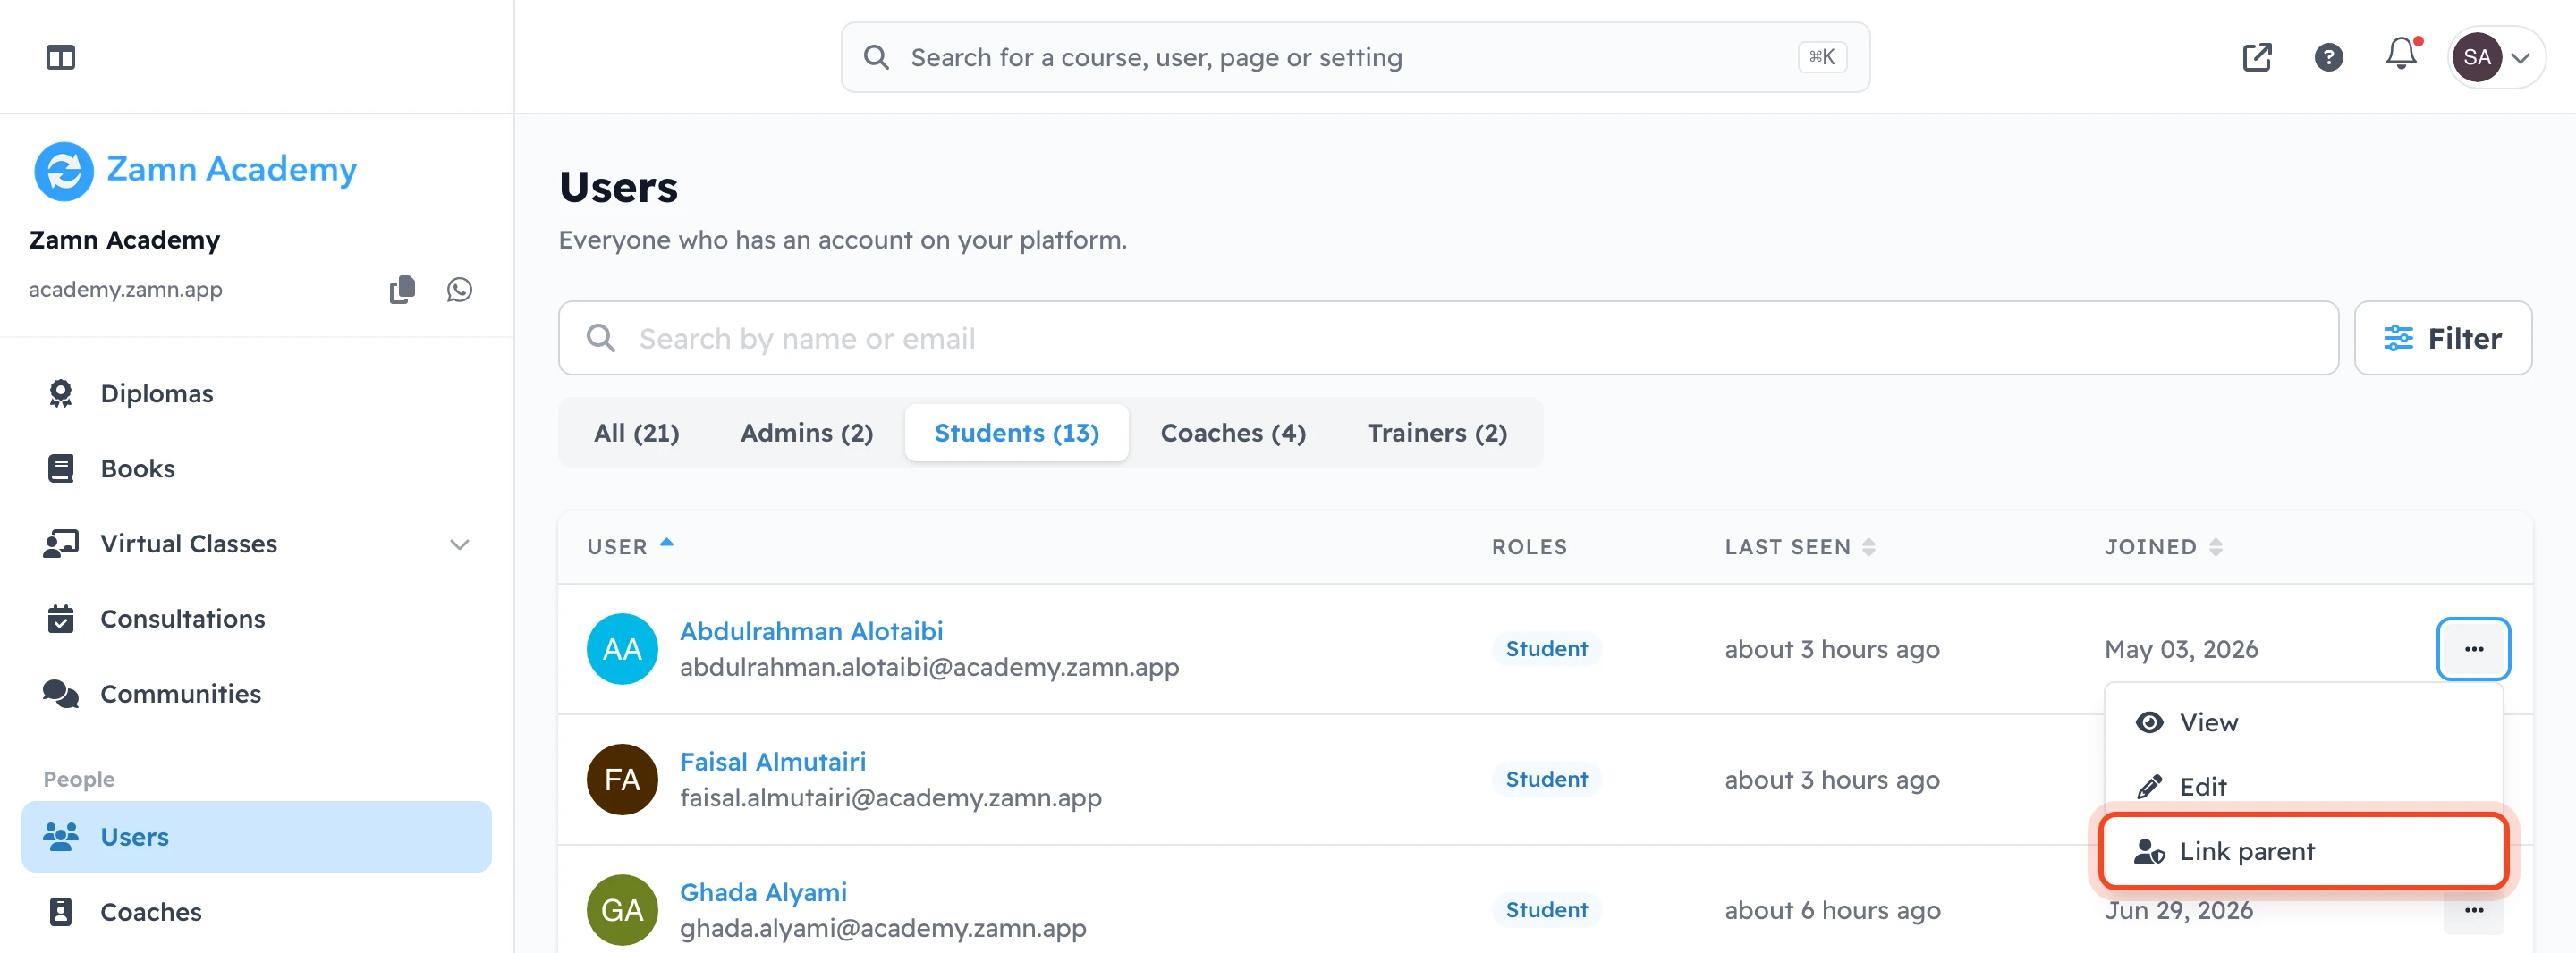
Click the ⋯ (Actions) button at the end of the student's row, then click Link parent. If the student already has a parent, this option is called Replace parent.
-
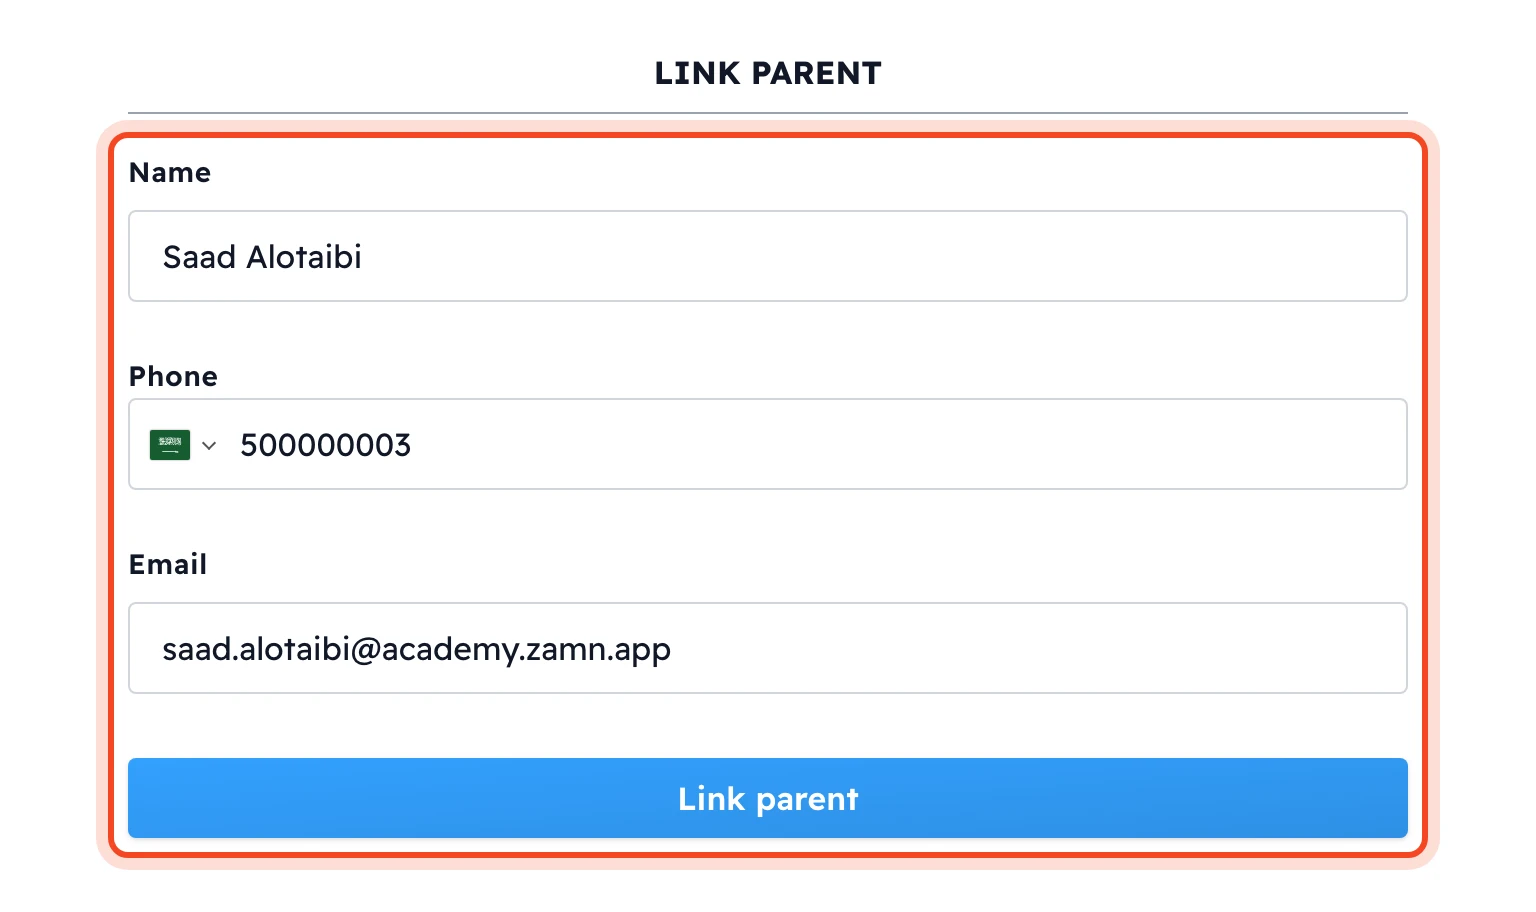
In the side panel, enter the parent's Name, Phone and Email.
-
Click Link parent (or Replace parent). The message Parent linked successfully shows.
Link parent shows only for users who are students in a course.
See or remove a student's parent
-
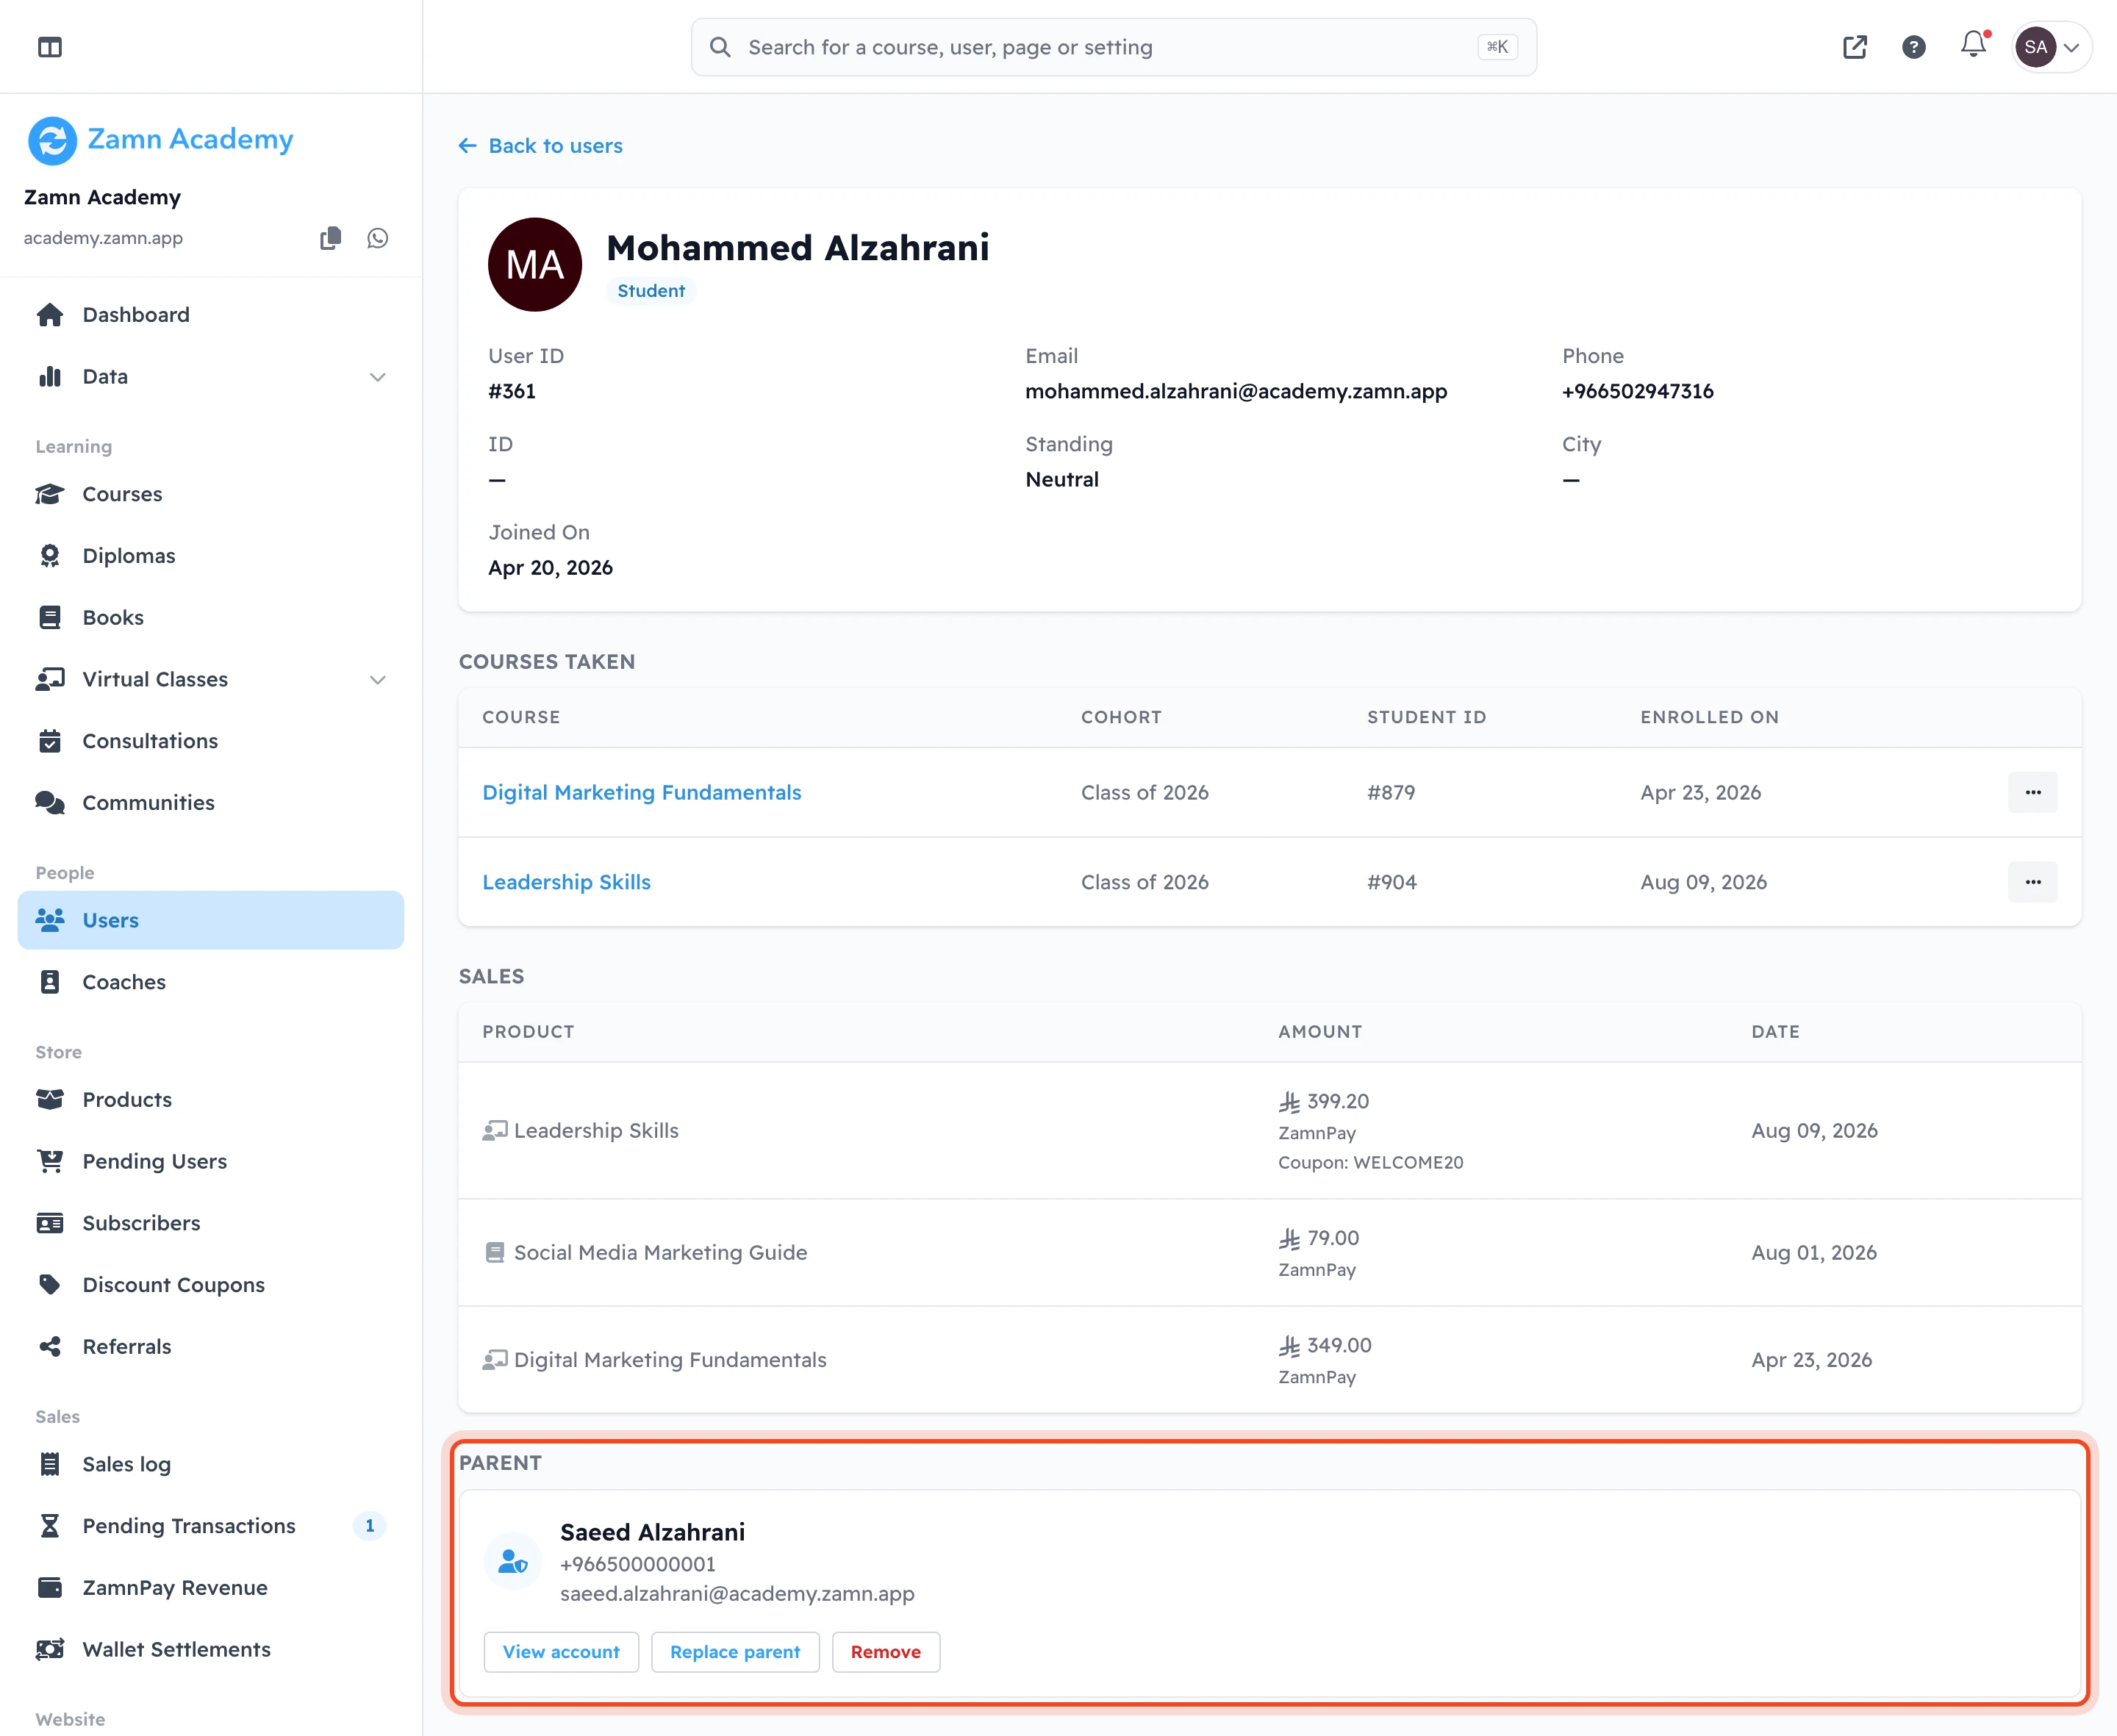
Open the student's page: on the Users page, click the student's name.
-
The Parent section shows the parent's name, phone number and email. If the student has no parent, it says No parent is linked to this student. and shows the Link parent button.
-
Use the buttons in the Parent section:
- View account: opens the parent's page. The Children section on it lists all the students this parent follows.
- Replace parent: link a different parent to the student.
- Remove: remove the parent from this student. Confirm, and the message Parent removed successfully shows.
When you remove or replace a parent, the parent's account stays on the platform. It just cannot see this student anymore.
What the parent gets
-
The parent gets an email: "You have been added as a parent on" and your platform name, with a Sign in button.
-
The parent signs in with the phone number or the email that was added. See Sign in to the platform with a password or a verification code.
-
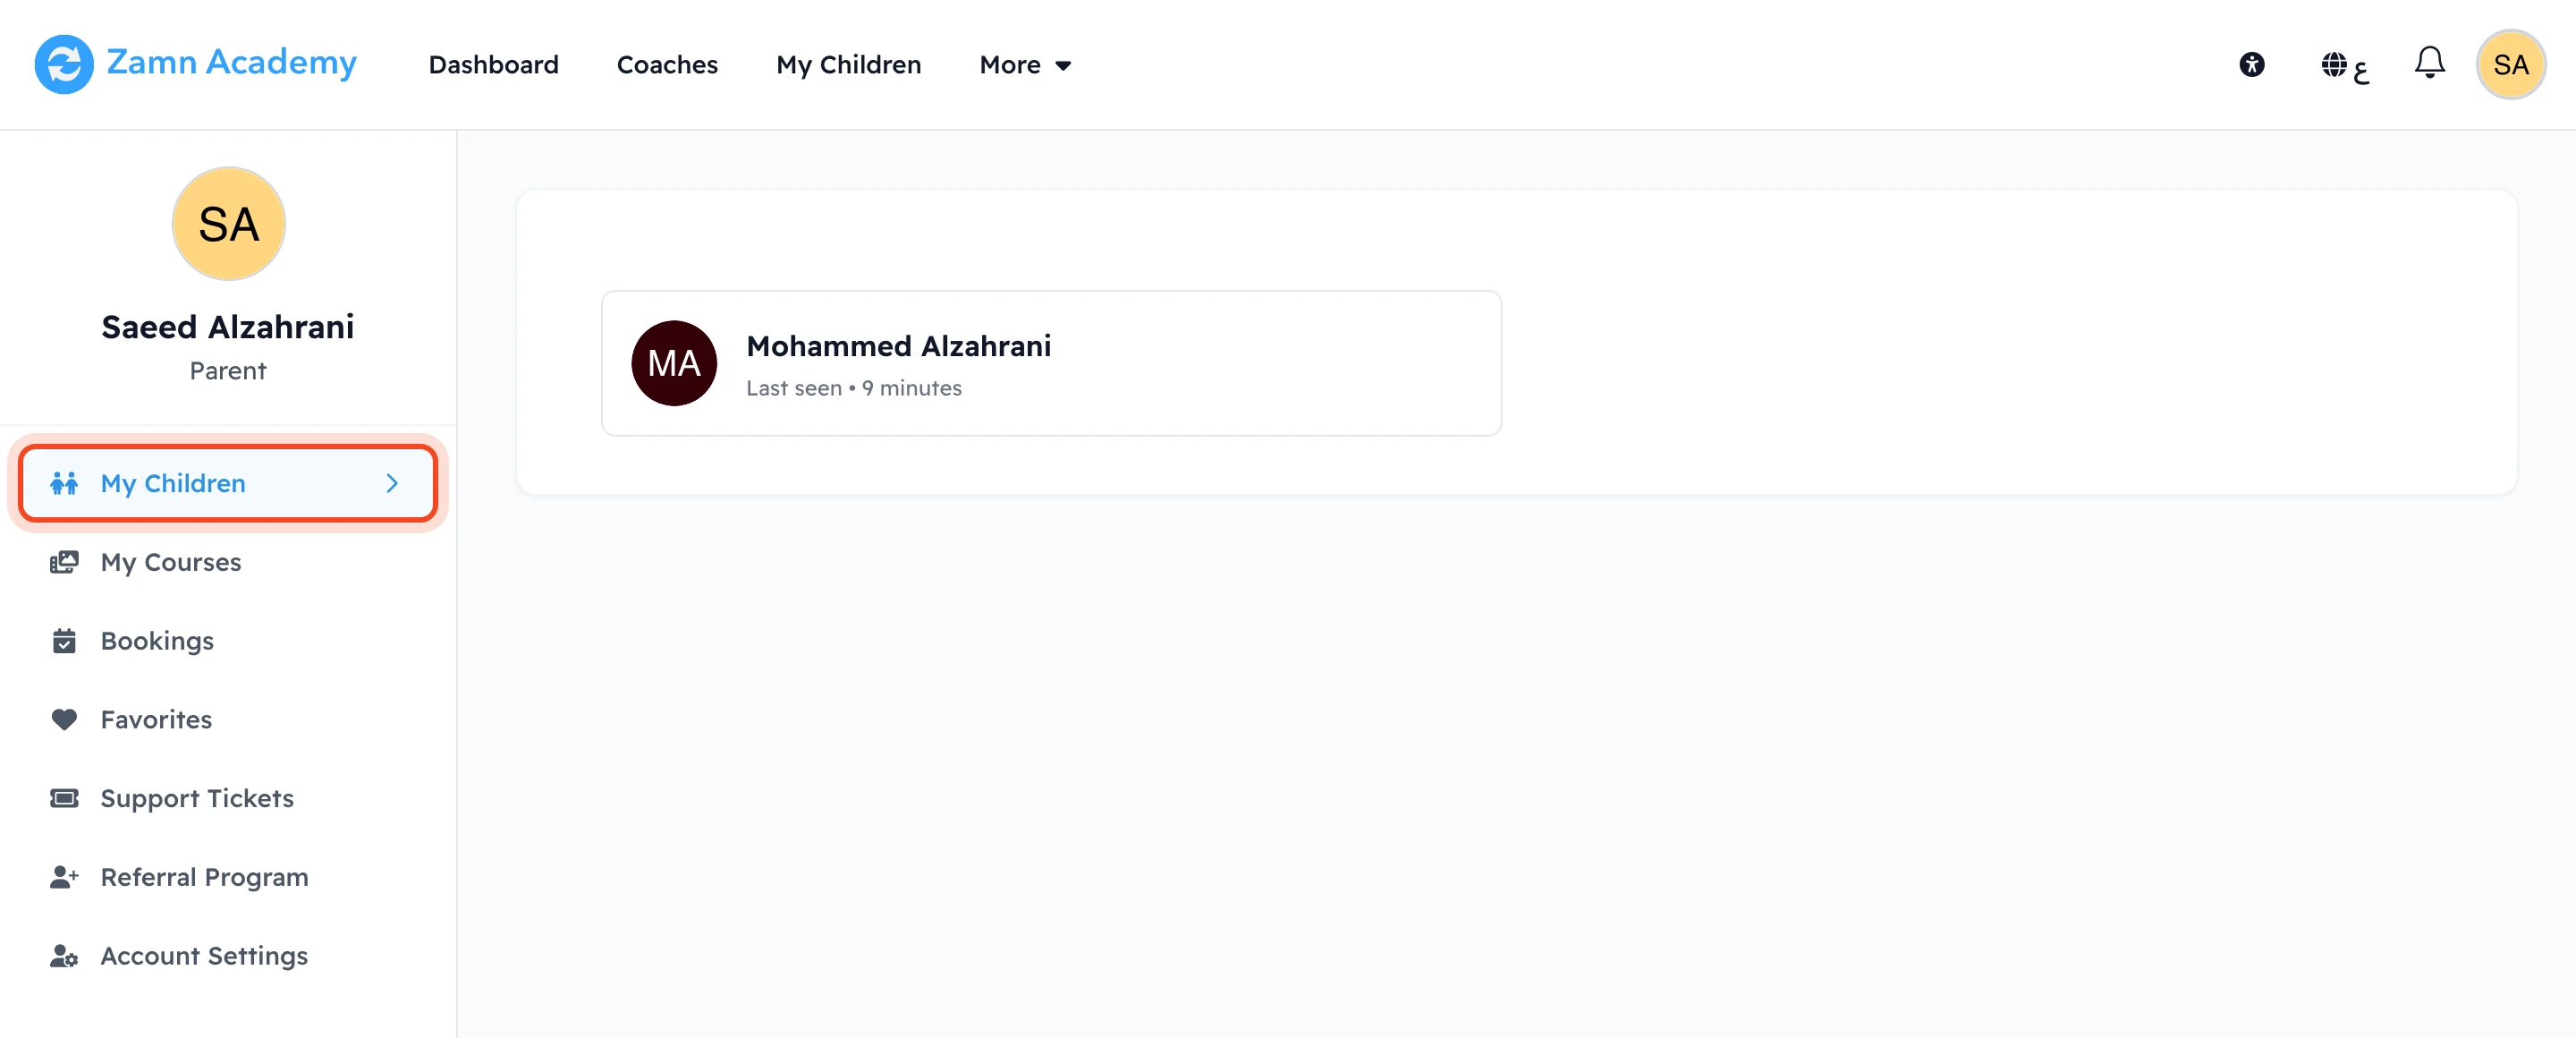
In the Dashboard, the parent opens My Children. It shows each child with the last time they were on the platform (Last seen).
-
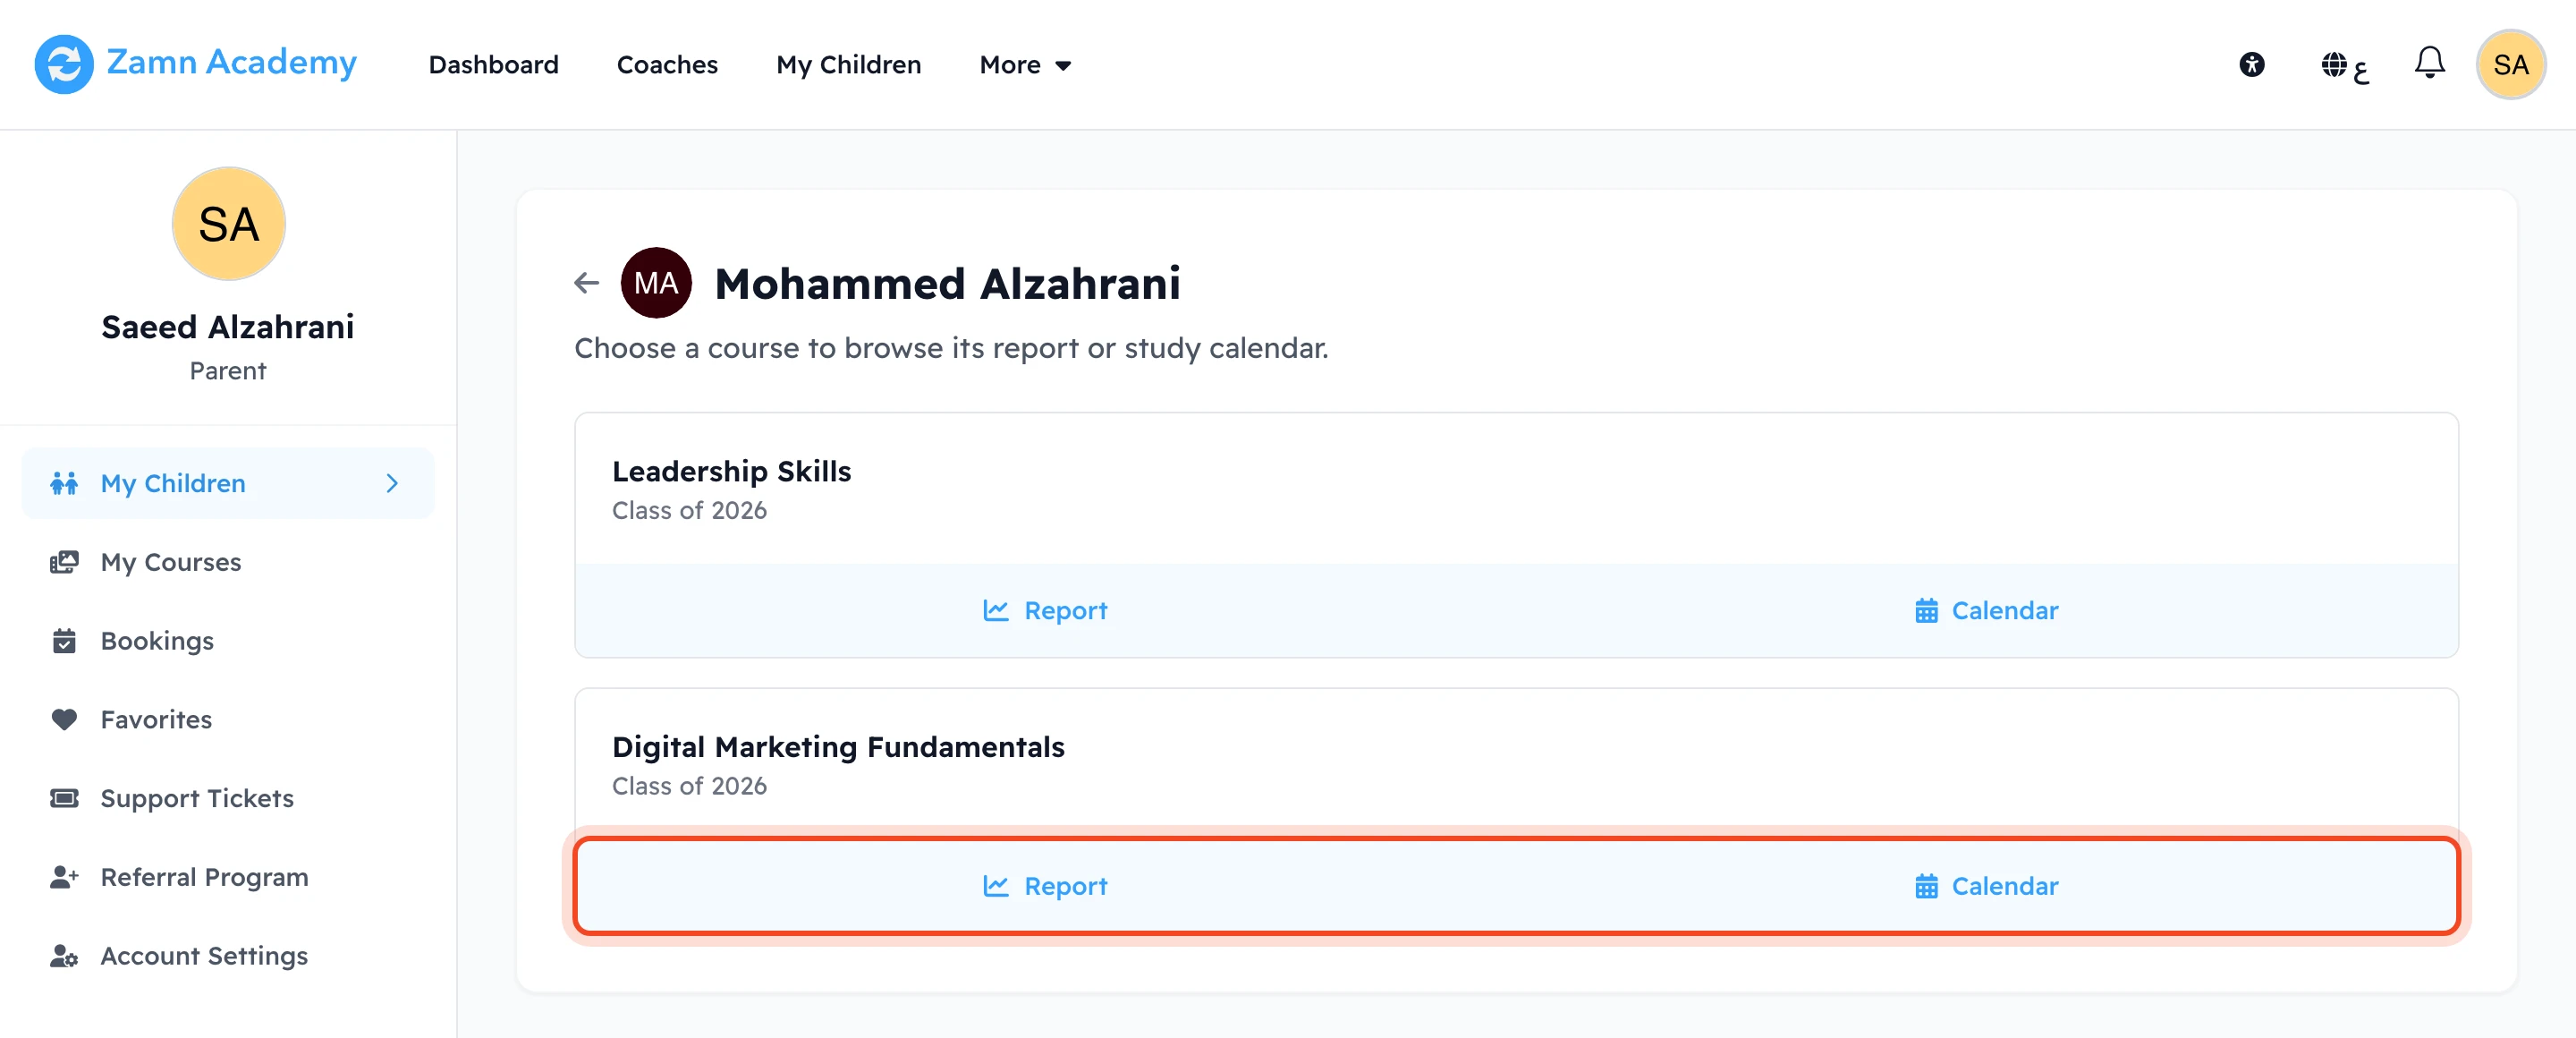
The parent chooses a child to see the child's courses. Each course has two buttons:
- Report: the child's progress, grades and quiz results, in the Overview, Quizzes and Submissions tabs.
- Calendar: the study calendar of the child's course.
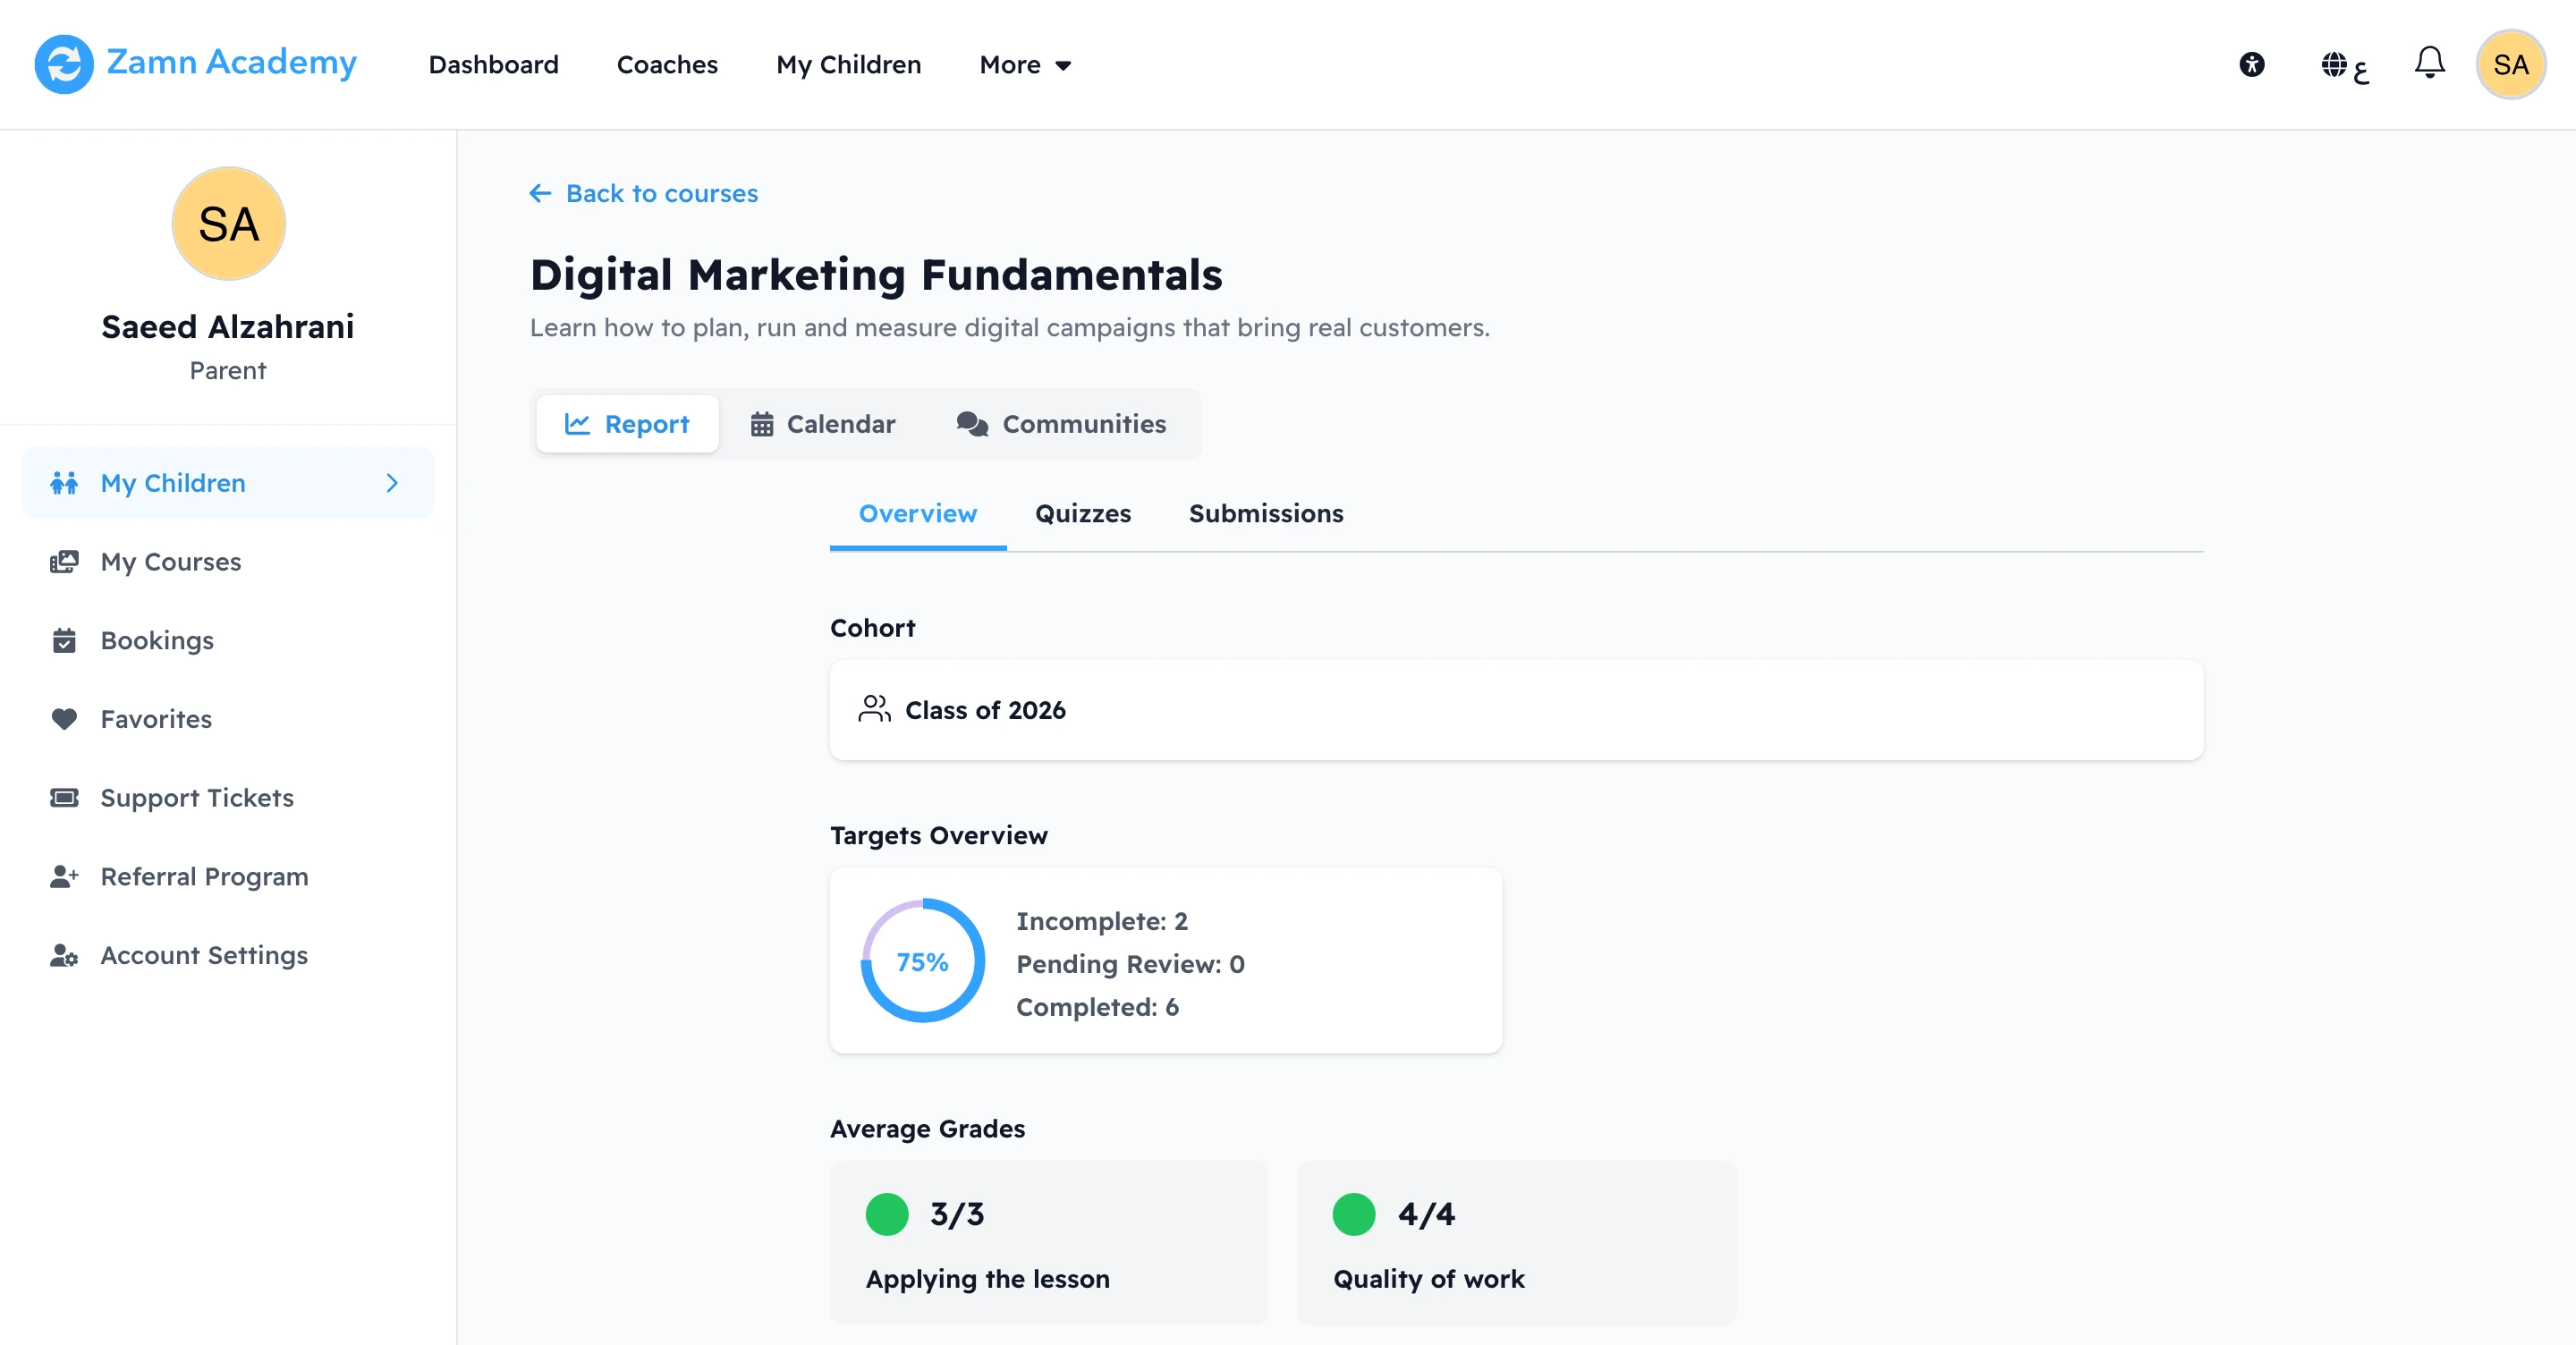
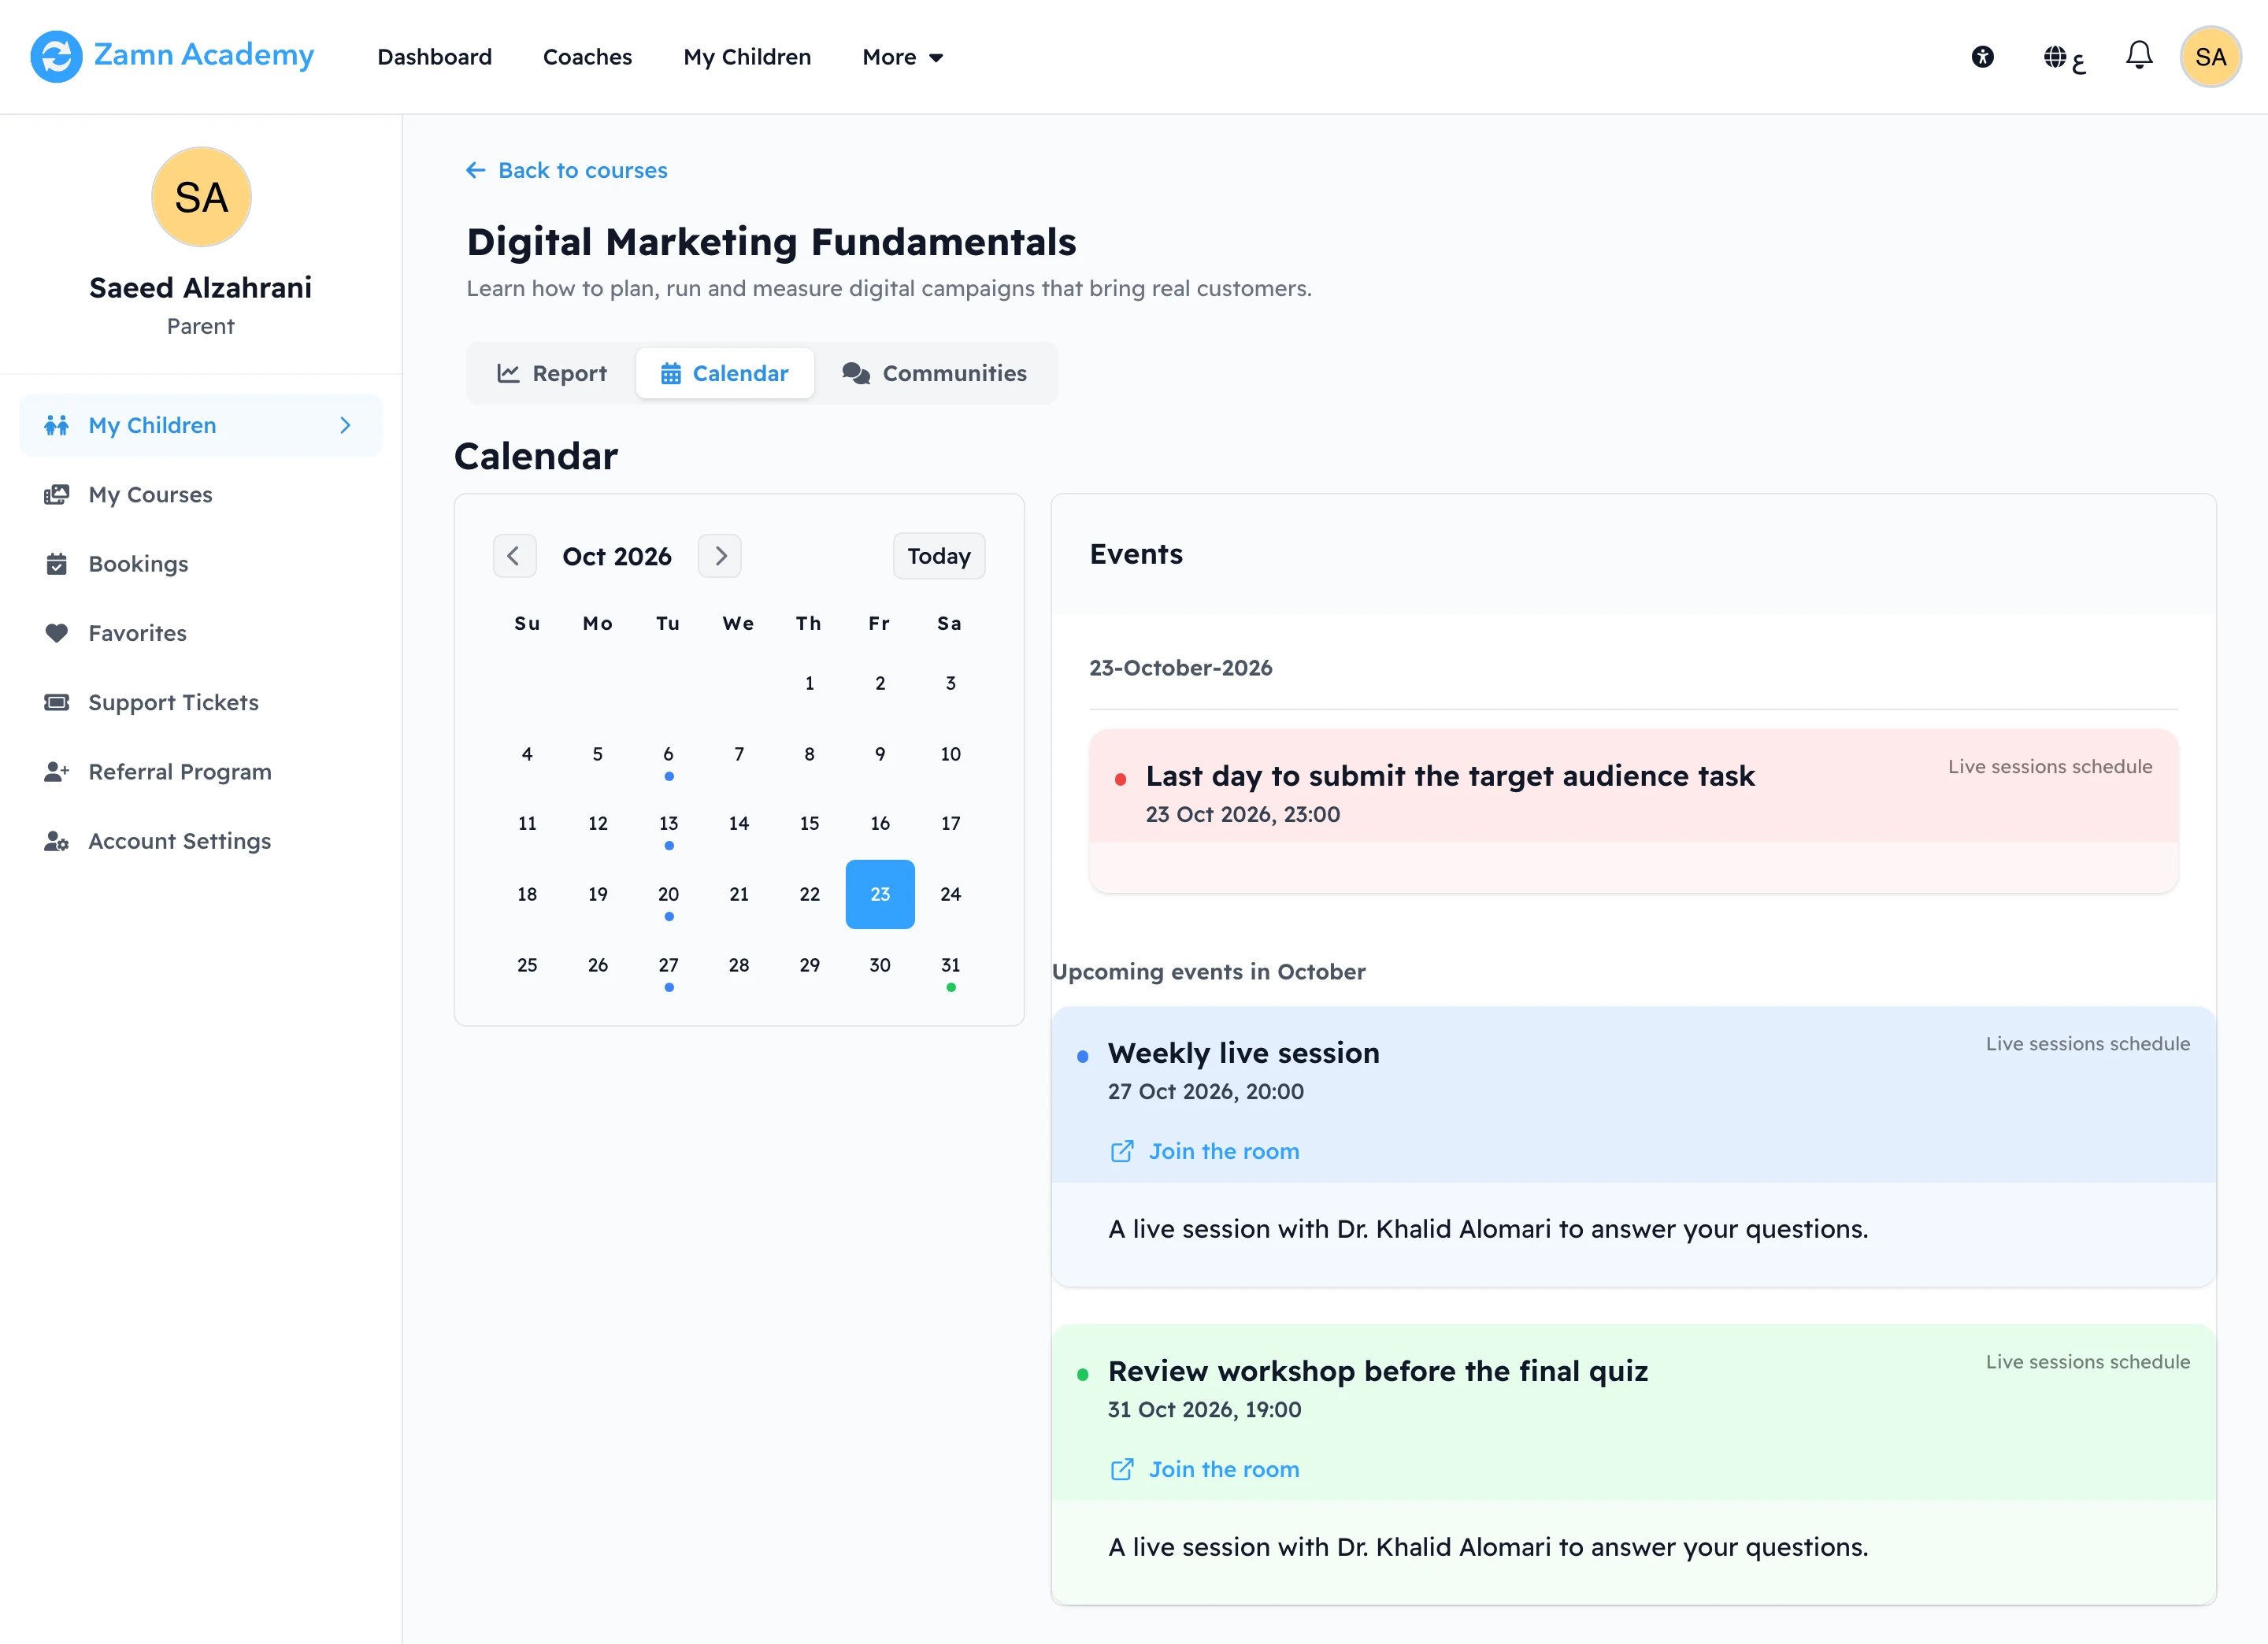
The parent can only look. They cannot open the lessons, send work or change anything in the course.